Cubase AI重新授权教程
一、下载和安装“eLicenser Control Center”
1、下载最新版本的“eLicenser Control Center”(如电脑中有,可直接打开):
http://www.steinberg.net/en/company/technologies/elicenser.html
2、安装完成后打开,并记住“Soft-Elicenser” 序列号:
![Cubase AI重新授权教程](https://www.yamaha.com.cn/uploads/image/20190523/29d0940d96f3.png)
二、重新授权Cubase AI:
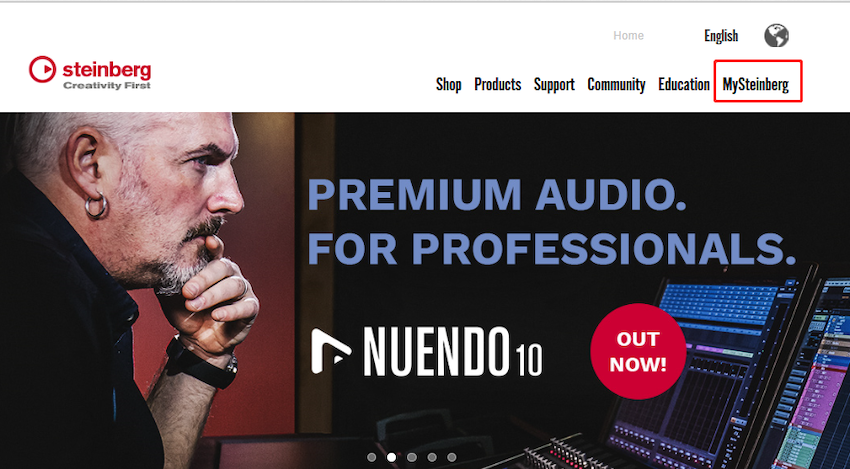
1、进入Steinberg官网:www.steinberg.net,点击“My Steinberg”
![Cubase AI重新授权教程](https://www.yamaha.com.cn/uploads/image/20190523/6225b9244812.png)
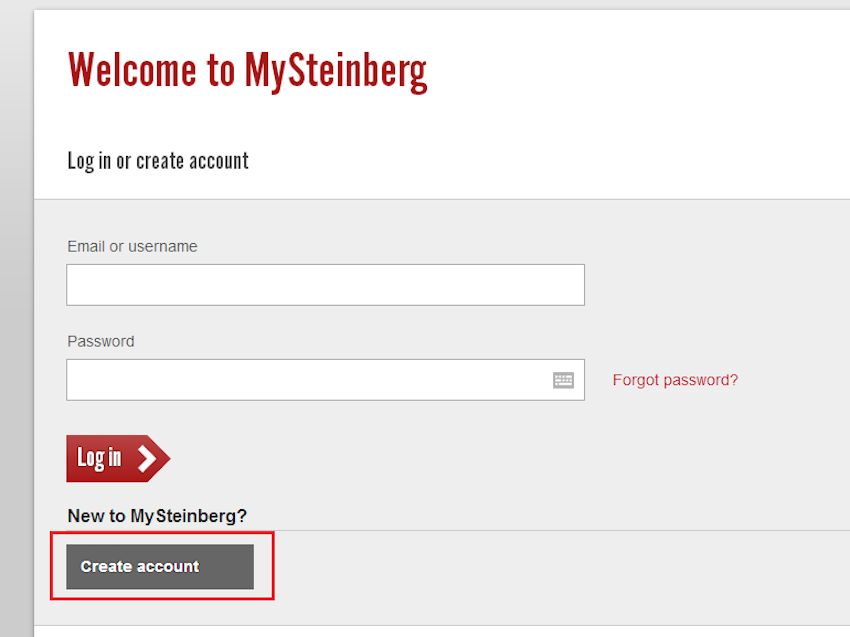
2、登陆MySteinberg账号,进入用户中心
![Cubase AI重新授权教程](https://www.yamaha.com.cn/uploads/image/20190523/a75b55a333dd.png)
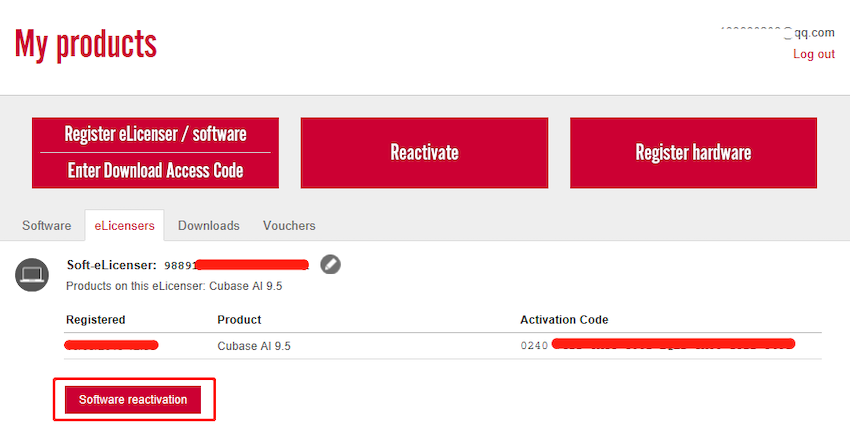
3、在“eLicensers”标签页面,选择旧电脑的Soft-eLicenser,点击“Software reactivate”键:
![Cubase AI重新授权教程](https://www.yamaha.com.cn/uploads/image/20190523/abd250e9a8e9.png)
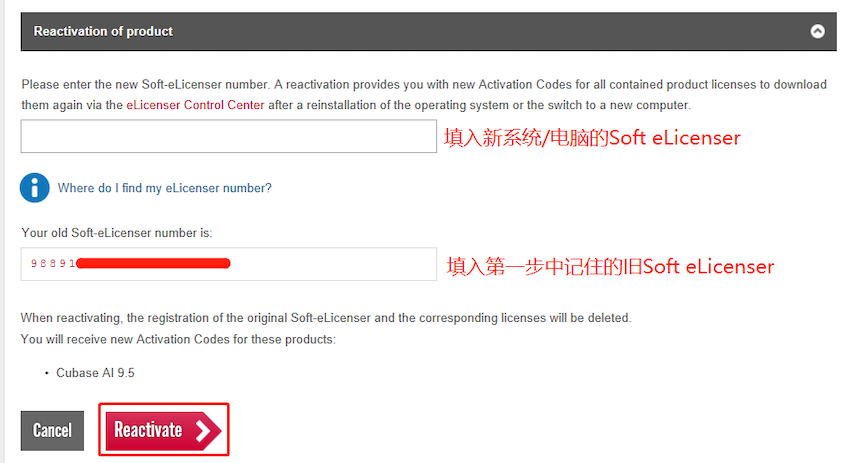
4、上面的框中填入新系统/电脑的Soft eLicenser,下面的框中填入第一步中记住的“Soft Elicenser”序列号,并点击“Reactivate”:
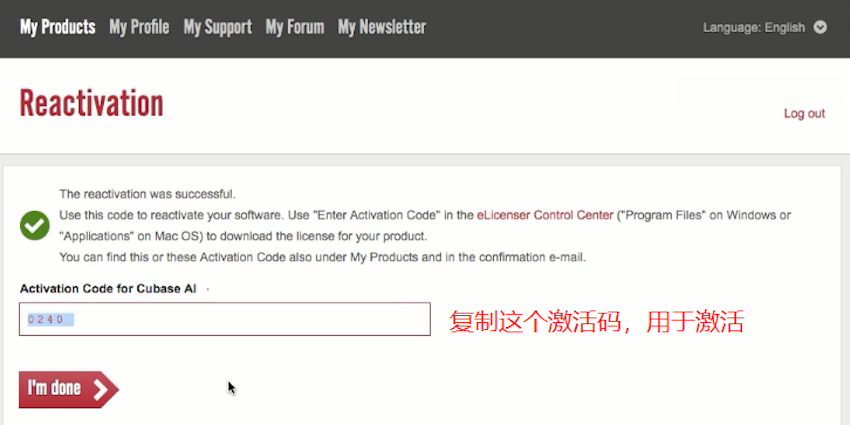
![Cubase AI重新授权教程](https://www.yamaha.com.cn/uploads/image/20190523/d2d4752006da.png)
5、保存好出现的新的激活码。
![Cubase AI重新授权教程](https://www.yamaha.com.cn/uploads/image/20190523/d0eb878f4408.png)
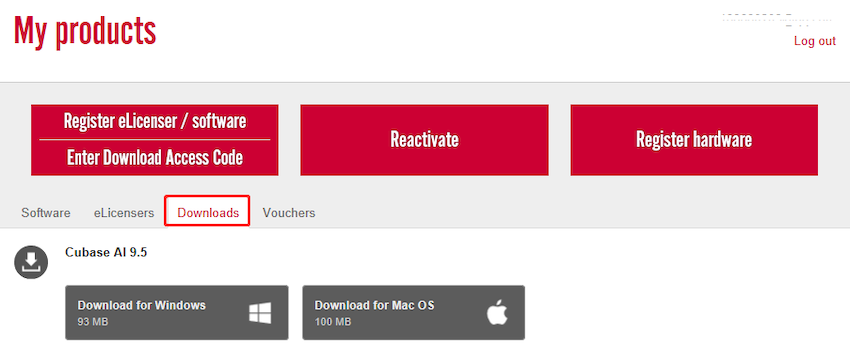
6、在“My Steinberg”中选择“Download”一栏,并根据自己的系统下载和安装Cubase AI:
![Cubase AI重新授权教程](https://www.yamaha.com.cn/uploads/image/20190523/3493bae547bd.png)
三、激活Cubase AI:
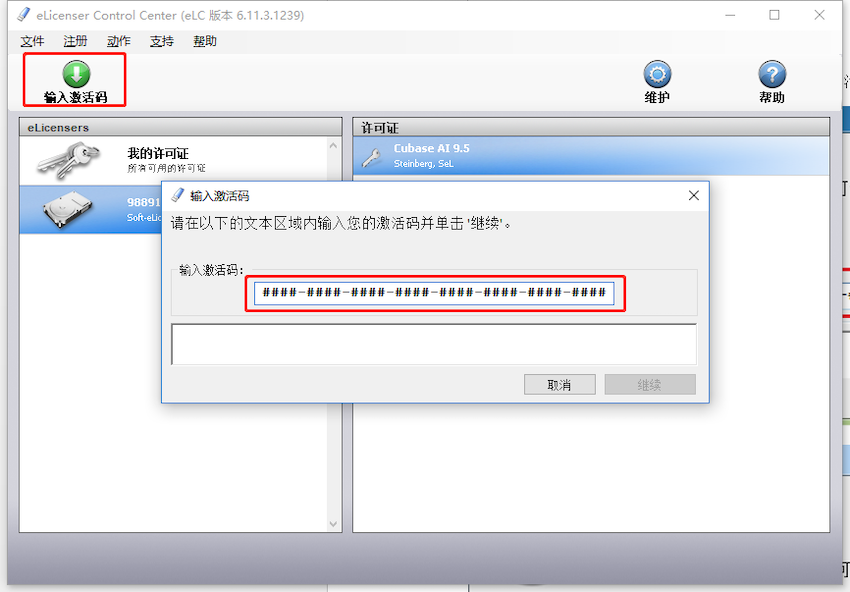
1、打开eLicenser Control Center,输入激活码,并激活许可证:
![Cubase AI重新授权教程](https://www.yamaha.com.cn/uploads/image/20190523/45ff1a3dc5f7.png)
2、许可证下载成功:
![Cubase AI重新授权教程](https://www.yamaha.com.cn/uploads/image/20190523/0a1d98a98a8c.png)
上一篇:关于Steinberg Zero Downtime的使用 2017年09月18日
下一篇:Cubase Pro / Artist / Element / AI注册及安装教程 2019年06月03日